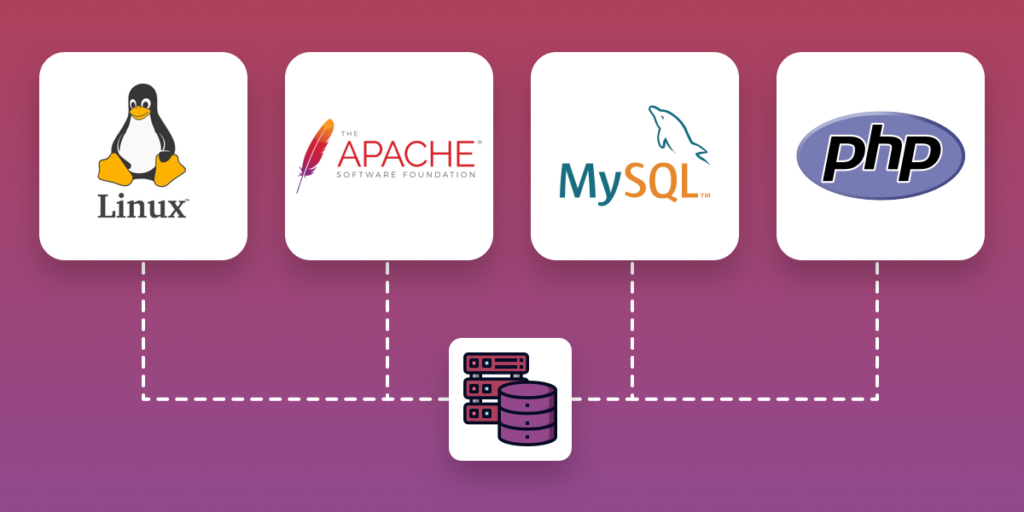
A “LAMP” stack is a group of open-source software that is typically installed together to enable a server to host dynamic websites and web apps. This term is actually an acronym which represents the Linux operating system, with the Apache web server. The site data is stored in a MySQL database, and dynamic content is processed by PHP.
In this guide, we will install a LAMP stack on a Ubuntu 18.04 server.
Let’s assume you already have access to a server. So in order to access the server you will need to ssh into it.
Step 1:
Type
ssh username@IPIf you are using a PEM KEY (Highly Recommended approach)
You’d use
ssh -i “path to your key file” ubuntu@IPStep 2:
Run
sudo apt-get updateThe command above tells the system to check if any packages that are available on the system have updates. It doesn’t actually upgrade the packages installed.
Step 3:
Run
sudo apt install apache2
This installs the apache2 web server on your system.
This is the server that takes all the information your browser requests and sends it back to the browser.
It handles communication to other web-servers( proxy ) / Single tenant web-server or Multi Tenant (i.e. whether 2 domains example.com and example2.com point to the same server to show different sites respectively)
Step 4:
Run
sudo service apache2 statusThis command checks if your server is running proper.
Step 5:
Next we can move on to installing php
sudo apt -y install software-properties-common
sudo add-apt-repository ppa:ondrej/php
You’re adding the php7.4 repository to your system. Now again we will update our package list
sudo apt-get updateOnce done you can now setup php7.4
sudo apt -y install php7.4Step 6:
Run
php -vThe command above will check your installation. It should display your php version.
Run
php -m To see all modules. Now you will need modules depending on your requirements
You can install them by running
sudo apt install php7.4-X php7.4-XXWhere X and XX are your modules names you get after running php -m
Few basic ones are:
sudo apt install libapache2-mod-php7.4 php7.4-common php7.4-mbstring php7.4-xmlrpc php7.4-gd php7.4-xml php7.4-mysql php7.4-cli php7.4-zip php7.4-curl You can install multiple php versions on your system and you can disable or enable them by running a2dismod X or a2ensite X
Let’s break this up for you
A2 dis mod X
Apache disable module module name
Try to figure out the other one using the pattern above.
Remember this pattern, you may need it in the future for other things like a2disconf or a2dissite (will explain it in another post)
Step7:
Ok now let’s configure your PHP
sudo vim /etc/php/7.4/apache2/php.iniFind these Variables and set them to your preference
memory_limit = 256
upload_max_filesize = 100M
max_execution_time = 360
date.timezone = Europe/London
Step 8:
Next we need to setup MYSQL
sudo apt install mysql-server mysql-clientStep 9:
Run this command after
sudo mysql_secure_installationThis command will help you configure your default mysql user and other settings.
Step10:
Connect to the database
sudo mysql -u root -pEnter the password you entered in the previous step
Create your new user now
CREATE USER 'username'@'localhost' IDENTIFIED BY 'yourpassword';
GRANT ALL ON *.* TO 'username'@'localhost' IDENTIFIED BY 'yourpassword';
FLUSH PRIVILEGES;
EXIT;
That’s it! You are all set to go to the /var/www/html/ folder using your SFTP/FTP client and set up your new website.
Read more blogs like these on Agaetis.tech


